Cottage Cheese Pancakes. Sounds a little gross, right? Surprisingly, they are savory and delicious. The benefit of this recipe is it is high in protein and has hardly any flour. Before you write off this recipe, give it a try.
*Two things regarding this post: 1) Excuse the quality of photos - we only had my point and shoot camera and 2) we made a double batch so don't be confused by the amounts I tell you and what you see in the pics.
First off, get your ingredients together: a food processor (or blender if you don't have a processor), cottage cheese, eggs, flour, and oil (we use olive oil).
Add 8 oz. (1 cup) cottage cheese to the food processor. (Again, we made a double batch, so I added this whole carton - 16 oz.).
Crack three eggs in a separate bowl and add them to the food processor.
Here you can see we have a total of 6 eggs for our double batch.
Measure out three (3) tablespoons all-purpose flour and add to the cheese mixture.
Next, one tablespoon oil goes in to the bowl.
So there you have it... all of the ingredients ready to go!
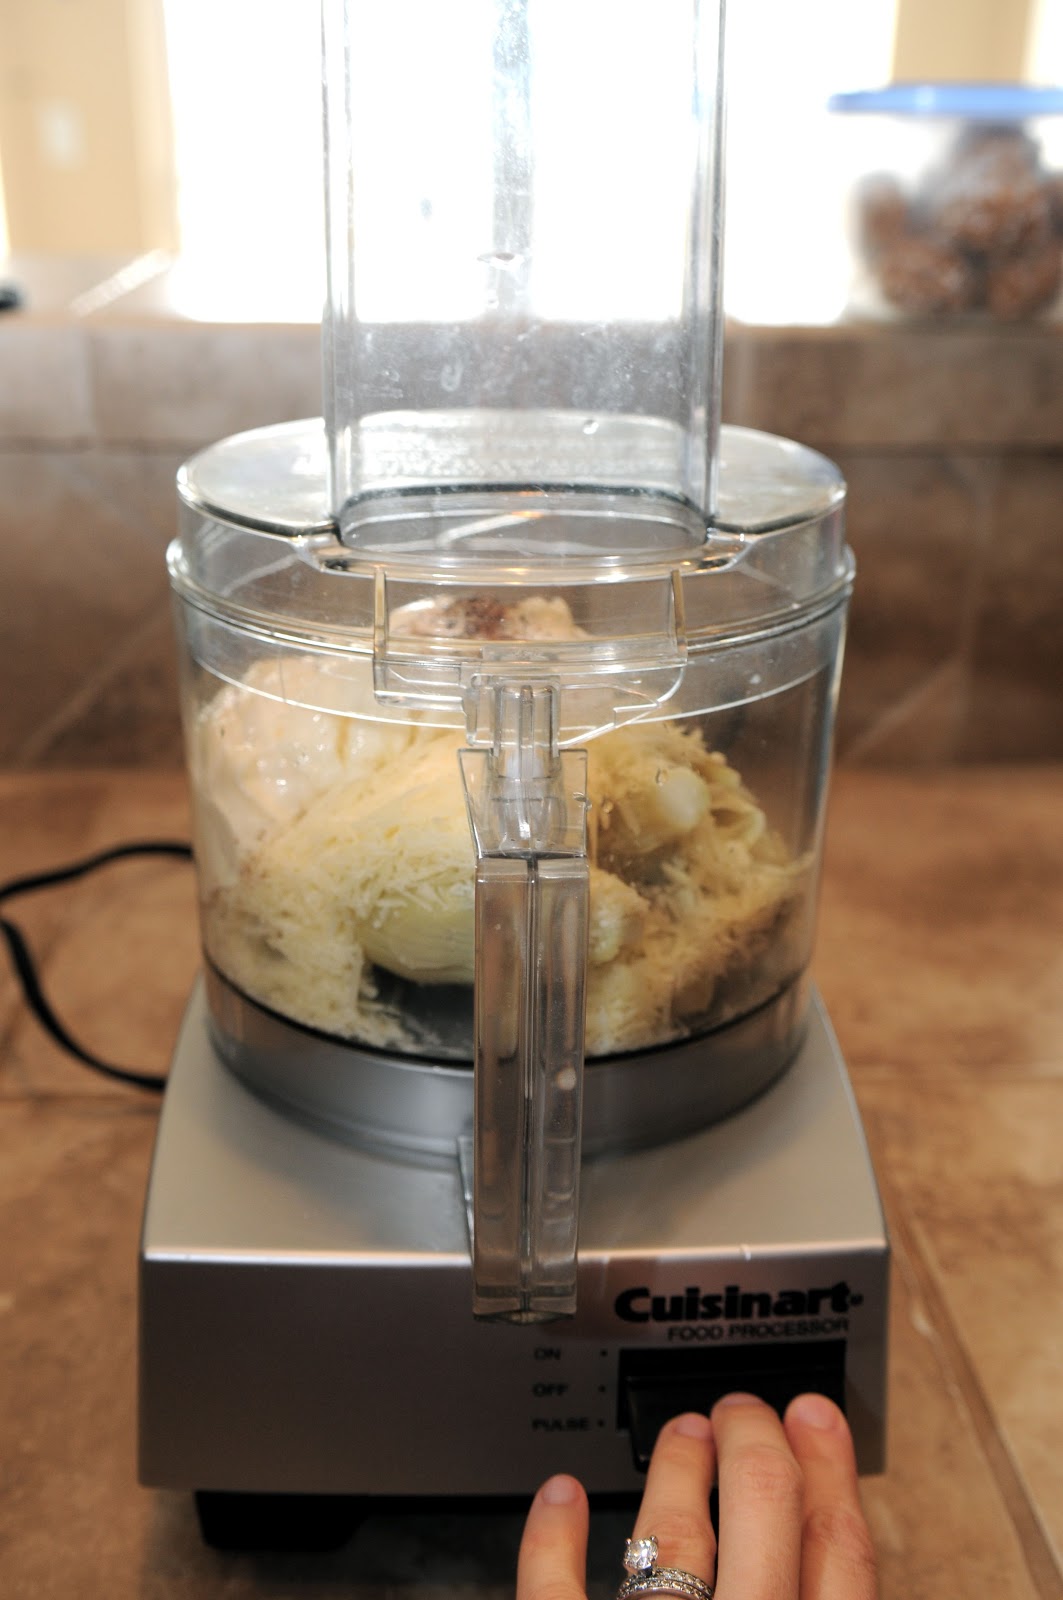
Ok now let's process this baby. You might start off with a couple of pulses just to slowly incorporate the flour, then let that thing whirl until you get a nice, smooth batter. Check it along the way to make sure it is incorporating well, scraping down the sides if needed.
Done! See how it makes a smooth batter, free of any cottage cheese curds? At this point, you would never even know cottage cheese was the base of the batter. It looks just like traditional flour-based pancakes now.
Now get your griddle ready. We have an electric griddle, but you could always use a large skillet on the stove. Set the griddle to around 325 to 350 degrees. If you're using a skillet, set the heat to medium. Also have a ladle, a spatula, and butter ready to go.
Pops, "Pancake Flipper Extraordinaire," will be showing you how the pancake making process is done from here. First, ladle your batter up and pour it on the griddle.
Unlike a traditional flour-based pancake that only takes a minute or two to cook on each side, these pancakes take a little longer to cook. Between cooking the egg thoroughly and setting the cheese, you should expect the pancakes to take about 3-4 minutes on the first side and about 2-3 minutes for the second side. If the heat is too high and the pancake needs to be flipped before it is thoroughly cooked, it will end up too gooey. So it's better to lower the heat a bit to prevent the sides from burning before the inside of the pancake is done.
When the pancakes are ready to flip, you should be able to identify a few signs: 1) the side cooking should be golden brown, 2) there should be lots of bubbles in the pancake, and 3) the rim of the pancake will start to have a slightly hardened look and the color of the edge will get a little darker (see below).
Get your spatula and flip the pancakes. Let them cook on the flipped side for another 2-3 minutes.
Now this step is optional, but we like to add a pat of butter to each pancake once we flip them.
One tricky thing about preparing pancakes (and french toast) is that you have to cook in batches so you either have to eat at different times so the pancakes don't get cold or you wait to serve them at the same time and then people have to eat cold, soggy pancakes. To prevent this, place the cooked pancakes on a baking sheet in a single layer in a 200 degree oven. They will stay steamy hot without overcooking or getting soggy. Then you can enjoy your meal together once all of the pancakes are cooked!
We like to serve the pancakes with some yummy sides like sausage and bacon... nitrate free, of course. ;)
Pour a little maple syrup (or honey) on the pancakes.
And finally (also optional), top with your fruit of choice. These are blueberries Mom and I picked this summer and froze to enjoy throughout the year. Yum!
Now enjoy... and yes, I ate all six!
Then let your parents clean up while the dogs beg. :)
Ok there you have it folks - cottage cheese pancakes! Try 'em, you'll love 'em.
Cottage Cheese Pancakes
8 oz. (1 cup) cottage cheese
3 large eggs
3 tablespoons all-purpose flour
1 tablespoon oil
Place all ingredients in a food processor or blender and process/blend until you have a smooth batter. Heat griddle or skillet to 325-350 degrees or medium heat. Pour batter into individual rounds and cook until golden brown and bubbly, 3-4 minutes. Flip pancakes and cook on the other side for an additional 2-3 minutes, until thoroughly cooked through. Top with a little pat of butter then serve hot with syrup and fruit.
Enjoy!!